Products
Adding Products
The Shuup Admin provides a simple interface for adding products to your shop.
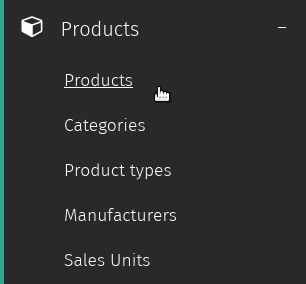
To navigate to the Products section of the Shuup Admin, open the Admin menu and select the Products section under the Products category.
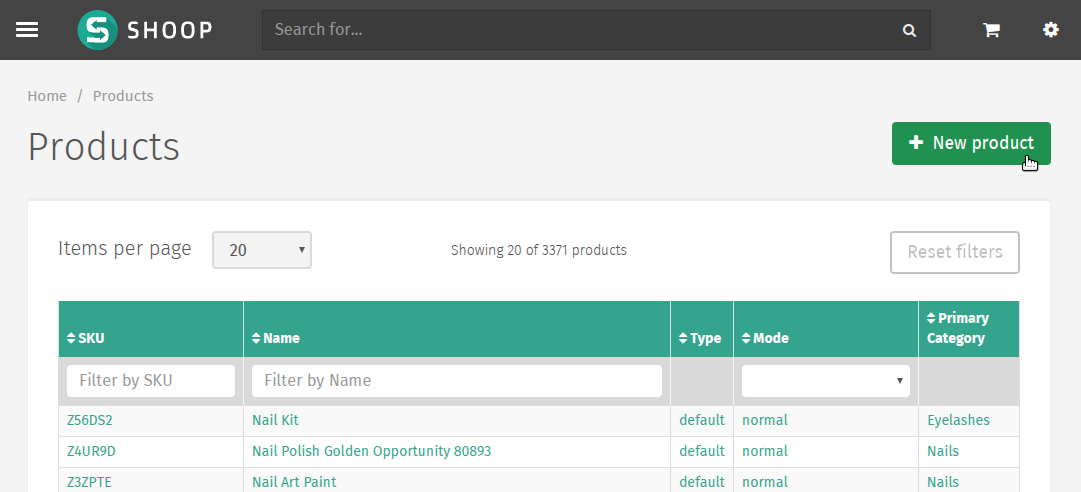
On the Products page, you will see a list of all of the products currently in your shop. In the upper right-hand corner there is a button labelled New product for creating new products. Clicking this will take you to the new product form, where you can enter information about your new product.
New Product Form
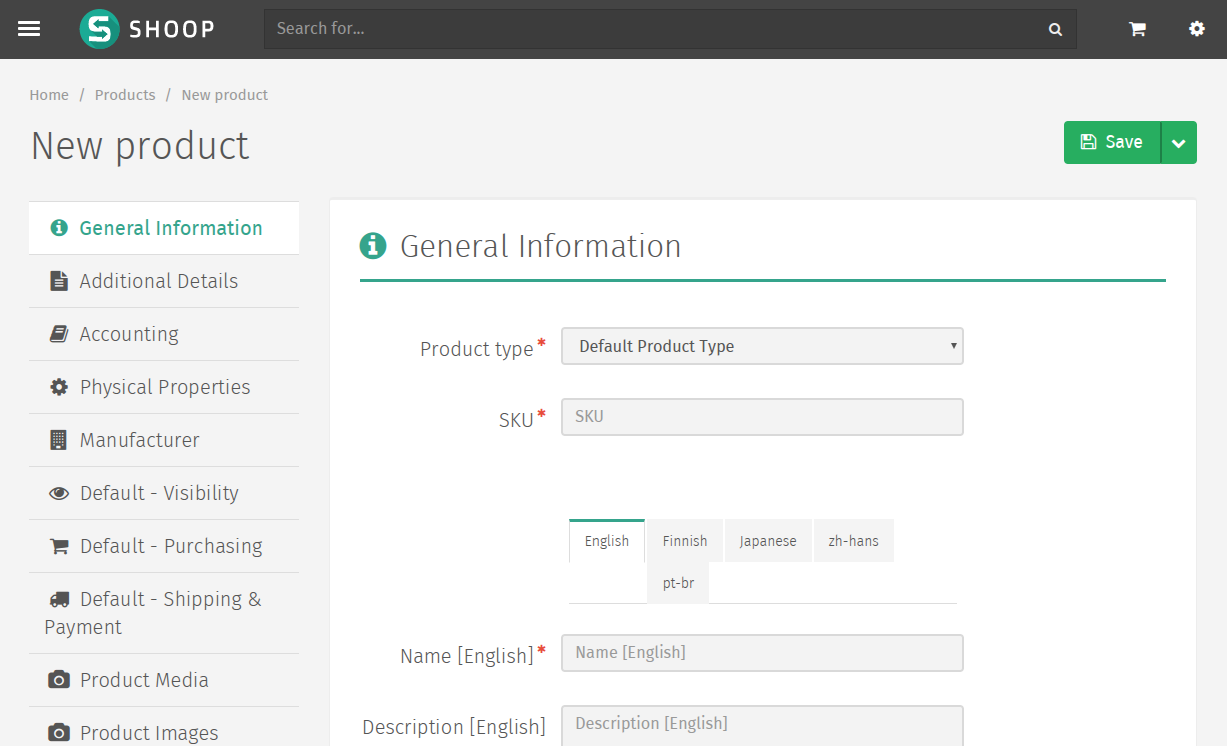
Like other Shuup Admin forms, required fields are marked with a red asterisk and missing or invalid fields will be highlighted red upon form submission.
The left side of the form contains a number of sections of the form (shown as tabs), and selecting a tab will present the different fields and options for that section.
Base Product Tabs
The top section of the form contains most of the basic product information and settings.
- General Information
- General information about the product, including product type, name, and product description.
- Additional Details
- Miscellaneous information regarding the product, such as the product’s stock and shipping mode, barcode information, and relevant keywords.
- Accounting
- Bookkeeping-related information.
- Physical Properties
- Physical dimensions and unit information for the product.
- Manufacturer
- Selection choice for the product’s manufacturer.
Shop-Specific Tabs
Following the base product section are the following shop-specific tabs. The names of these are preceeded by the relevant shop’s name (initially Default):
- Visibility
- Front-end visibility settings for a specific shop.
- Purchasing
- Pricing, supplier, and multiple-purchase settings.
- Shipping & Payment
- Shipping and payment service-related settings (used to limit customer shipping and payment choices on checkout).
Media Tabs
These sections are for managing the image and digital media content related to the product.
- Product Media
- Product-related file uploader and selector.
- Product Images
- Product image uploader and selector.
Tip
Advanced Product Media settings can be configured to deliver digital and downloadable content.
Customer Group Pricing Tab
Pricing settings based on customer groups. If a customer belongs to multiple groups, they will be presented the lowest price of the groups to which they belong.
Note
Customer Group pricing is currently not configurable for specific shops.
Saved Product Form
Once the product has been successfully saved, additional options will be available from the product edit form.
Attributes Tab
See Attributes.
Stock Management Tab
For stocked product, this should display any stock-related management tasks depending on the product’s supplier settings.
Orders Management Tab
Show recent orders containing the product.
Product Types
Product Types define classes products and are used to associate different sets of attributes to a particular product, depending on its product type.
For example, a product of type Book might require specific information such as author, ISBN, publisher, etc, while a product of type Clothing might require size, color, or other custom attributes.
Attributes
Shop owners can define their own attributes for Product Types from the Attributes Admin.
- Select the Attributes category from the Shuup Admin menu
- Click the New attribute button in the upper right-hand corner
- Enter a name and unique identifer for the attribute, and select the type, visibility mode, and searchability for the attribute
- Select the Product Type page (under the Products category) from the Shuup Admin menu
- Select the Product Type from the menu
- Under the Attributes tab, check the box next to the attribute name for your new attribute.
Tip
By default, new attributes are displayed on the product page, but there are multiple visibility options that can be selected form the Attributes edit page.
Cross-Selling
Adding Cross-Sells
Related products can be sold together on Shuup’s storefront by using Shuup’s cross-selling feature. These relationships can be managed from the Shuup Product admin.
To add a relationship for a particular product, navigate to the product’s page and select Manage Cross-Selling from the Actions menu.

Products can be selected by clicking the Browse button and clicking on the desired product from the product list.
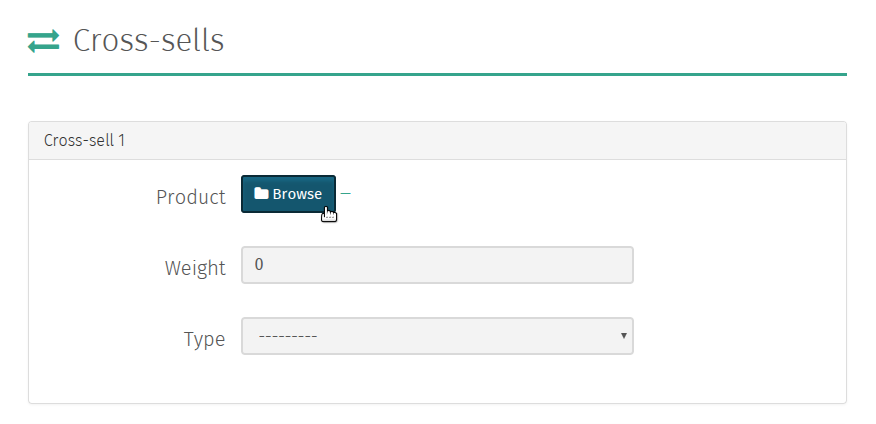
Once the product has been selected, the relationship’s weight can be set.
The relationship weight is used when calculating which products will be displayed together on the shop front. The higher the relationship weight the more likely the products are to be displayed together.
Finally, you can select one of the following relationship types:
- Recommended
- Products are recommended to be bought together.
- Related
- Products are related.
- Computed
- Primarily reserved for use by add-ons.
- Bought With
- Primarily reserved for internal use. These relationships are automatically calculated by automated Shuup tasks, however if these tasks have not been configured by the server administrator, they can be defined manually here.
Note
Only five relationships can be added at once. However, more can be added once these relationships have been savd. This can be repeated as necessary.
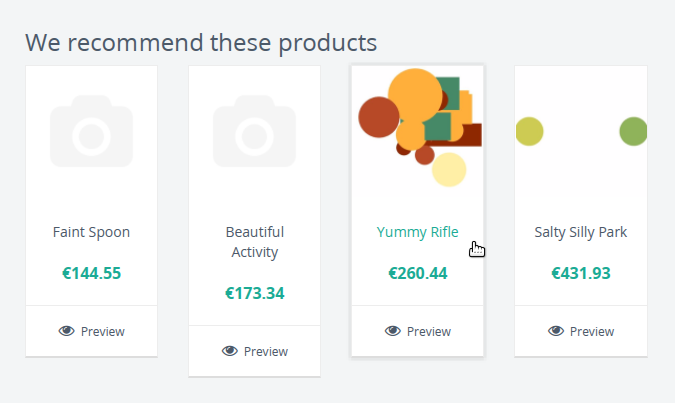
Displaying Cross-Sells
Once defined in the Product admin, cross-sell relationships can be displayed on the store front using the Xtheme Cross-Sells plugin.
Follow the following steps to display a relationship type on the store front:
- Make sure you are logged in as an administrator and navigate to the store front.
- Navigate to any product page.
- Click on the Edit Page button in the lower right-hand corner of the page.
- Select one of the Xtheme placeholder boxes.
- Add a new row or new column for your plugin.
- Select Product Cross Sells from the plugin dropdown menu.
- Add a title if desired, select the relationship type, and set the count as the number of products to be displayed at once. You can also select whether or not to hide out-of-stock or unorderable items.
- Save the plugin.
- Publish your changes.
- Click the Exit Edit button in the lower right-hand corner of the page
- Your products should now appear in the placeholder on the product’s page.
Note
Cross-sell relationships are only one-way and must be manually added to any related product you would like to relate back to the original product.
Note
If there are no relationships of the selected type for a particular product, the plugin will not be displayed.
Package Products
Package products are used to package a number of related products to be sold as a single product package.
These products are stored a single package parent, which can be linked to multiple package children.
Stock for child products is automatically updated when the package is purchased. Pricing, discounts, etc, of the parent product can be managed like any other product.
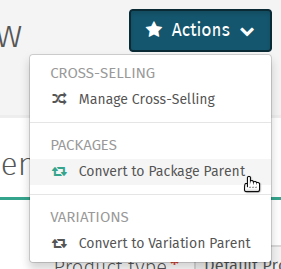
To convert a product to a package parent:
Navigate to the parent product’s edit page and select Convert to Package Parent from the Actions dropdown menu.
Click the Browse button to add child products to the package. Enter the quantity of each product to include in the package.
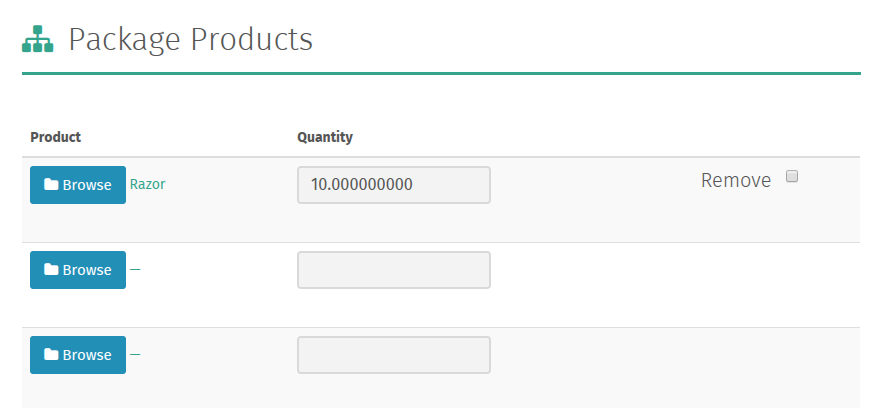
Click Save to save the package’s child product informatino.
Variation Products
Some products may be available to customers in a number of different variations, and customers should be able to choose from these different available options when adding products to their cart.
Shuup provides two different types of product variations, simple variations and variable variations.
Simple Variations
Simple variations are general variations that are displayed on the product page as a simple drop-down menu where the user can select from any of the available variation product choices.
Variable Variations
Variable variations allow you to define child products based on a specific variable. For example, a product might have variables such as size or colors, with different options for each, and the customer should be able to select from a combination of these options.
To add variable variations:
- Navigate to the parent product’s edit page and select Convert to Variation Parent from the Actions menu.
- Select Variables from the left-hand menu
- Click Add new variable to add a new variable form
- Enter the variable name
- Click Add new value
- Enter names for possible values
- Continue for other variables/values as needed
- When finished, click Save in the toolbar
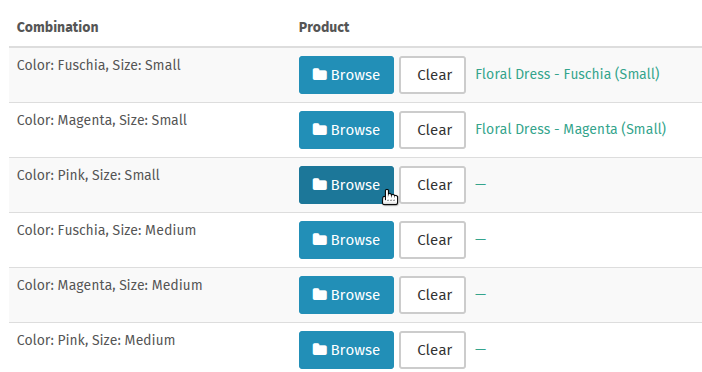
Once these variables have been added, “child” products can be linked for each combination of variables. For example, if there are 3 size values and 2 color values, there will be 6 child products, one for each size, color combination.
Tip
Names for child products should follow a consistent naming scheme indicating the variable value for each product.
Tip
Variable variations can be converted to simple variations by clicking Convert to simple variation on the Variation view toolbar. However, all variable and value information will be lost.
Managing Variations
Once a product has been converted to a simple or variable variation parent, it can be managed by selecting Manage Variations from the Actions menu for either the variation parent’s admin page or the admin page for any of the child variation products.