Orders
Creating an Order
Orders can be made in one of two ways–by a customer through the shop front or by a merchant through the Shuup Admin.
To create an order through the Shuup Admin:
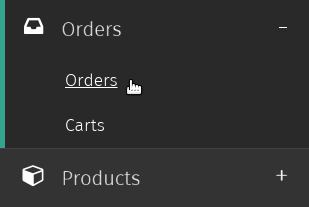
Navigate to the Orders admin page by clicking Orders under the Orders category from the Shuup Admin menu.
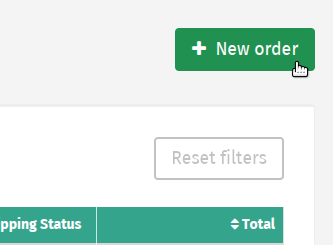
Click the New order button on the Order admin toolbar
Under the Customer details section, click Select Existing Customer to launch the customer selection popup, or leave choice as New Customer to create a new customer along with the order.
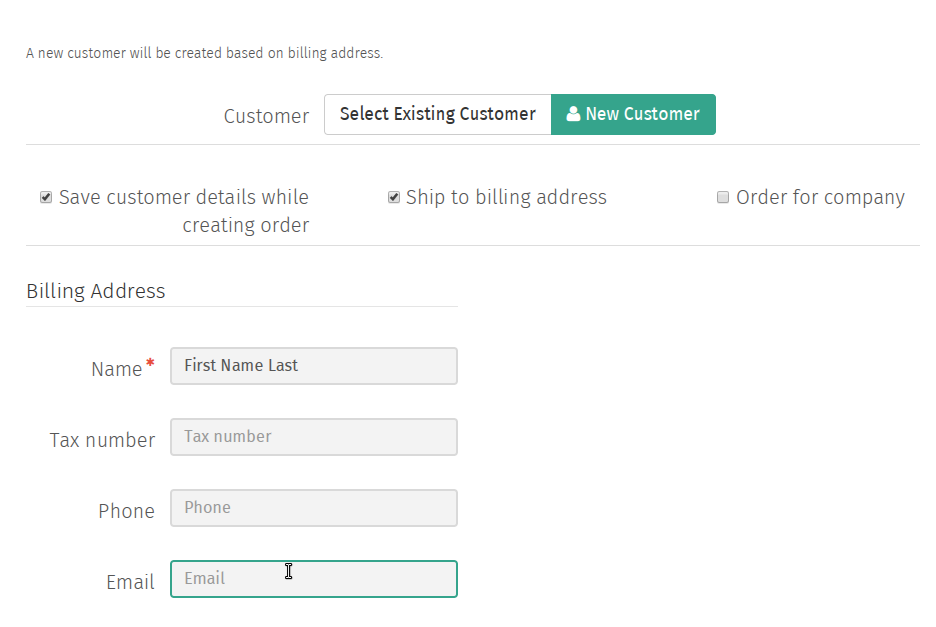
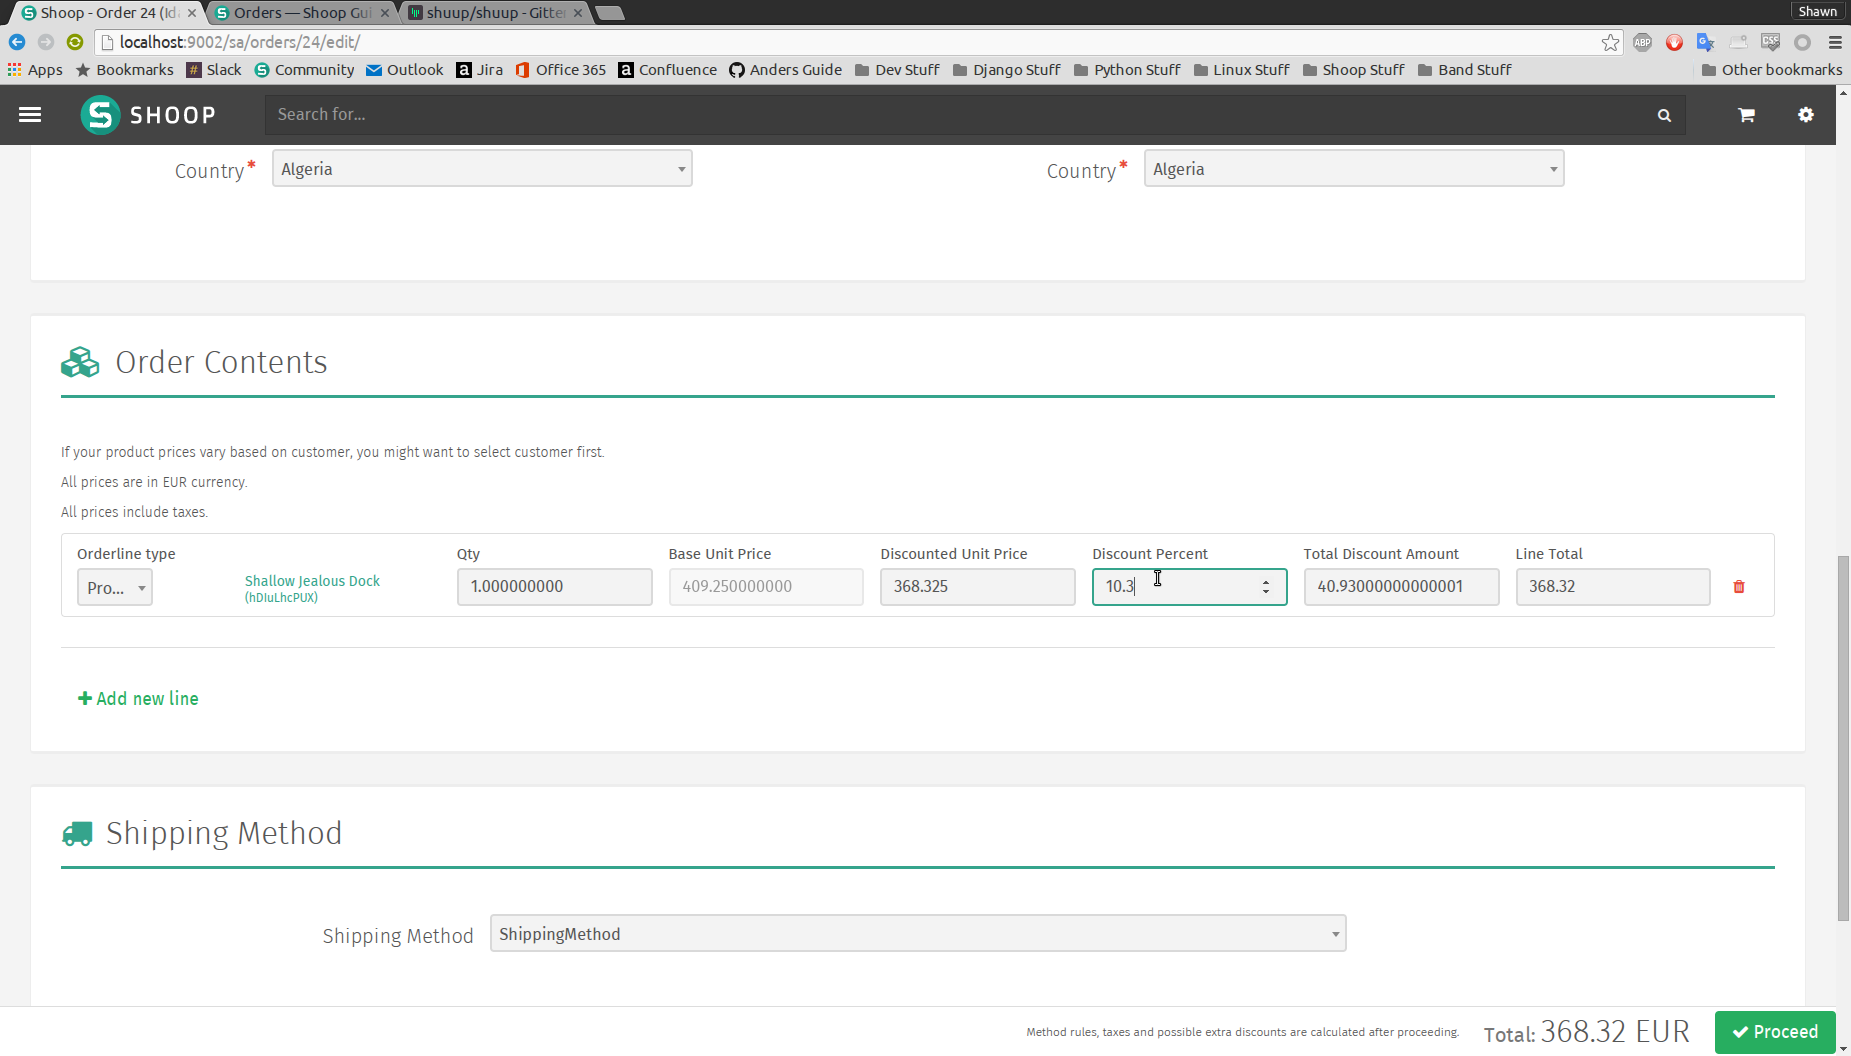
Enter any required or missing address information.
Under the Order contents section, click Add new line to add blank order lines to the order.
These can either be of type product, other, or text/comment.
If adding a product, clicking Select product will launch the product browser window.
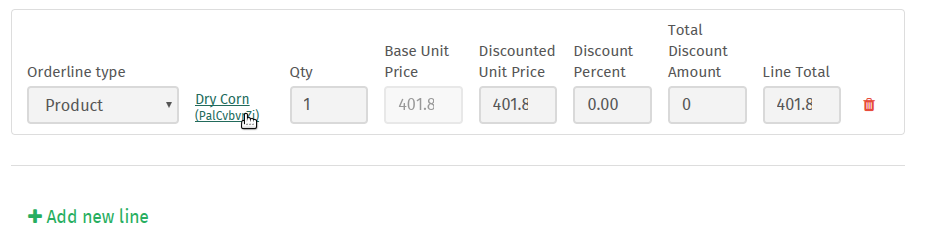
Here are the types of lines you can create in an order:
- Product line
A product, quantity, and any pricing or discount information
- Other line
A miscellaneous priced line
- Text/Comment line
A non-priced text line
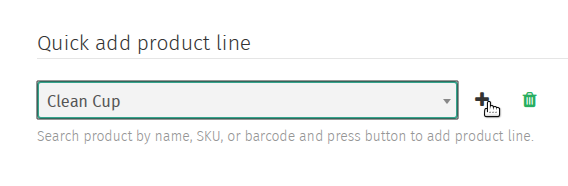
Optionally, the Quick add product line form can be used to quickly add product lines to the order. For example, this can be used when adding products using a barcode scanning device.
To quick add products:
Enter a product name, sku, or barcode number and select desired product from the dropdown results.
Press the plus button to add the product line to order, or press the trash button to clear the input and select a new product.
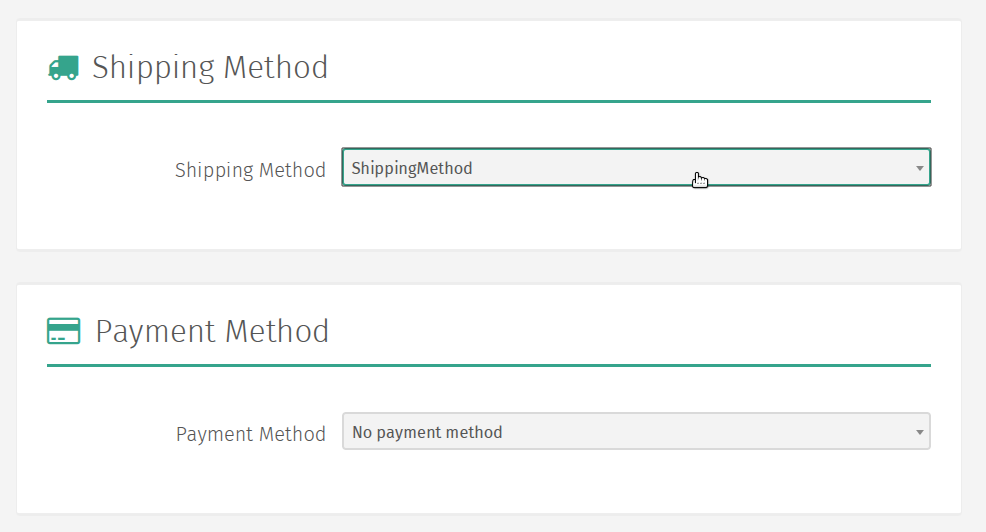
Select shipping and payment methods for the order from the Shipping and Payment Methods dropdowns.
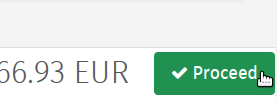
Click the Proceed button to create the order.
Note
You must select shipping and payment methods for each order.
Note
Method rules, taxes and possible extra discounts are calculated after proceeding.
Editing an Order
Navigate to the Orders admin page by clicking Orders under the Orders category from the Shuup Admin menu.
Select the order that you wish to edit.

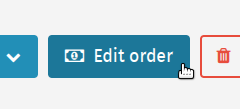
Click Edit Order in the order toolbar.
Make any desired changes to the order contents as done when Creating an Order.
Click the Proceed button to save the order contents.
Order Shipments
Creating an Order Shipment
To create an order shipment:
Navigate to the Orders admin page by clicking Orders under the Orders category from the Shuup Admin menu.
Select the order for which you want to create a shipment.
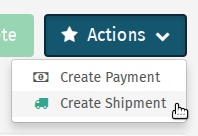
Click Create Shipment in the order toolbar.
For each product, select the quantity of that product to include in the shipment. To easily select all remaining unshipped quantities, click Set All Products To Ship.
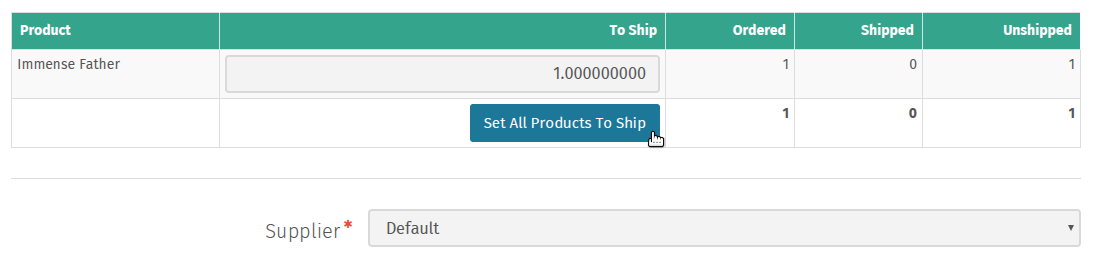
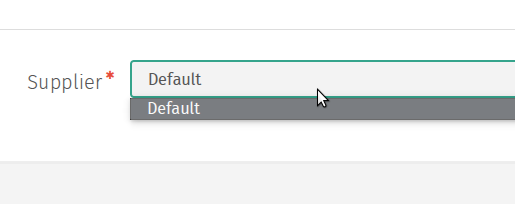
Select a product supplier from the dropbown menu.
Click the Create Shipment button to create the shipment.
Printing a Delivery Slip
To print a delivery slip for an order shipment:
Navigate to the Orders admin page by clicking Orders under the Orders category from the Shuup Admin menu.
Select the order whose delivery slip you want to print
If you haven’t already done so, create an order shipment.
Click Print in the Orders admin toolbar
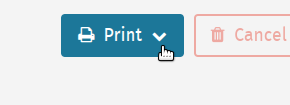
Select Get Delivery Slip for the order shipment you would like to print (there will be one available for each shipment).

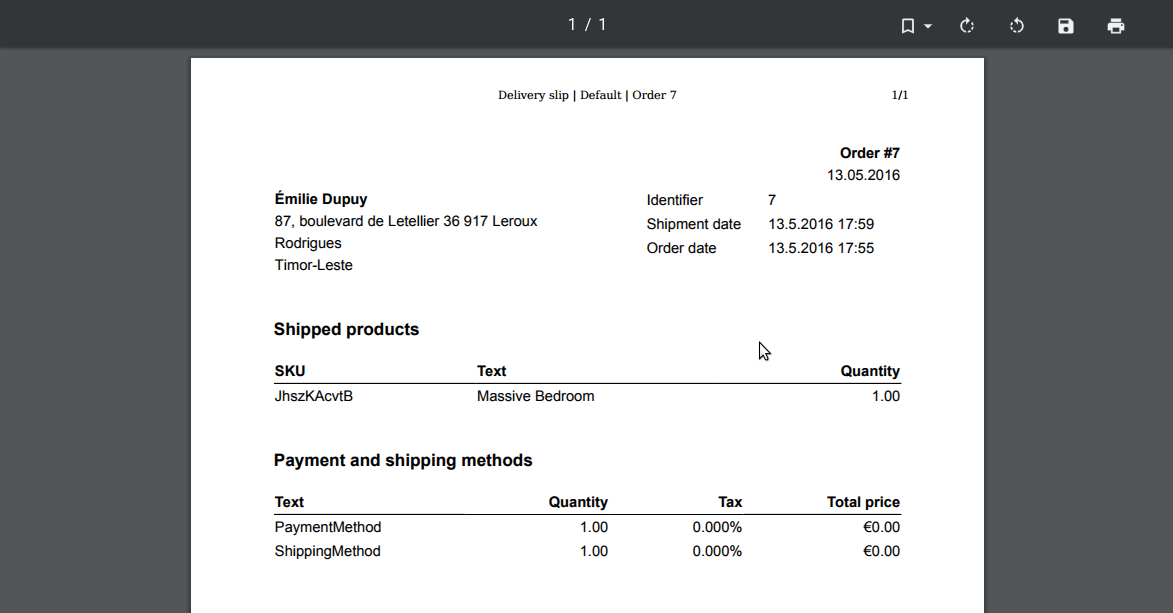
You will now be taken to a PDF of the delivery slip, which you can either print or save to your computer from your browser menu
Order Payments
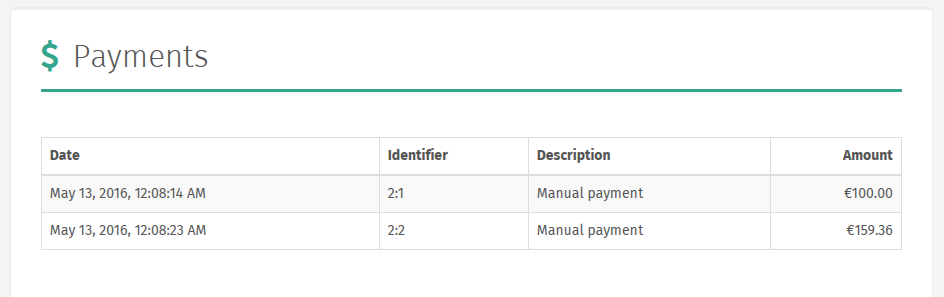
Viewing Order Payments
To view all payments for an order:
Navigate to the Orders admin page by clicking Orders under the Orders category from the Shuup Admin menu.
Select the order whose payments you want to view
Click the Payments tab on the left-hand side of the screen
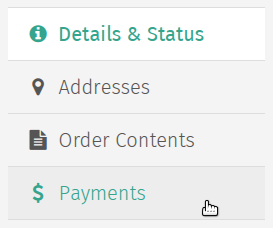
Details will be listed for all payments associated with that order
Creating an Order Payment
To create an order payment:
Navigate to the Orders admin page by clicking Orders under the Orders category from the Shuup Admin menu.
Select the order for which you want to create a payment
Click Create Payment in the order toolbar.

Enter the amount of the payment in the Payment amount field or click Get Remaining Total to automatically fill will remaining unpaid total.
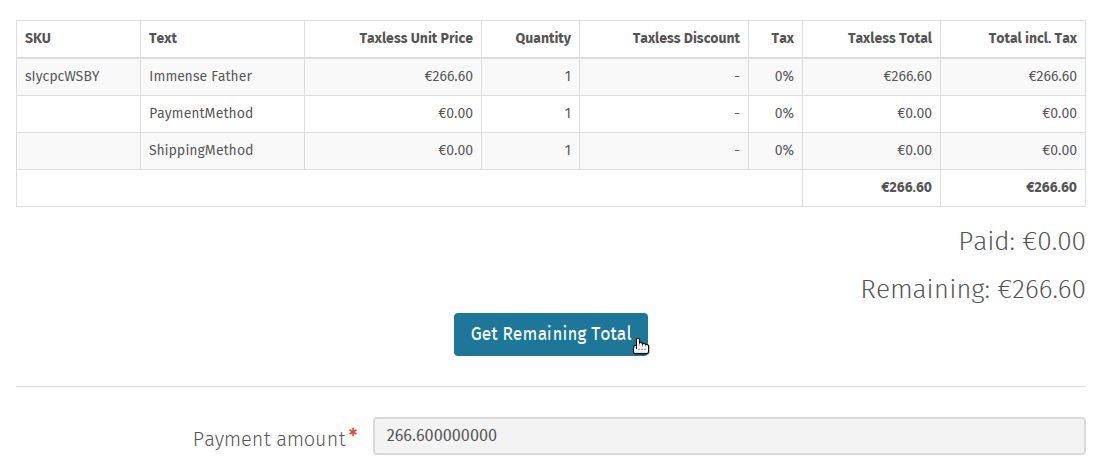
- Click the Create Payment button to create the payment.
Order Refunds
Note
Orders can only be refunded once at least one payment has been created for the order.
However, refund amounts are not restricted by existing payment amounts, meaning it is possible to refund more than has been actually payed.
If an order cannot be refunded, it will not be visible in the Actions dropdown menu.
Note
Once a refund has been created, it will appear as a refund line in the Order Contents tab.
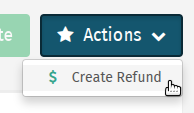
To create a partial refund for a particular amount or to refund particular order line amounts:
Navigate to the Orders admin page by clicking Orders under the Orders category from the Shuup Admin menu.
Select the order for which you want to create a refund.
Click Create Refund in the Actions dropdown in the admin page’s toolbar.
To create a refund for a particular line, select the matching line number from the Line number dropdown field.
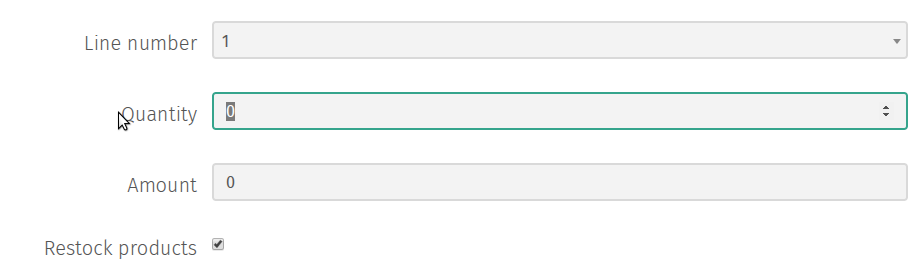
When refunding a product line, a field will appear to enter the quantity, as well as whether to restock the refunded products.
Note
A separate refund line will be created if returning both a quanity and an amount for a particular line.
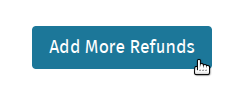
Click the Add More Refunds button to add additional refund forms.
Click the Create Refund to add the entered refund amounts to the order.
To create a full refund for an order:
Navigate to the Orders admin page by clicking Orders under the Orders category from the Shuup Admin menu.
Select the order for which you want to create a refund.
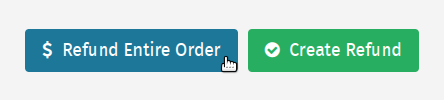
Click Create Refund in the Actions dropdown in the admin page’s toolbar.
Click the Refund Entire Order button in the admin page’s toolbar.
Review the order and refund amount information. To restock returned products, make sure the Restock products checkbox is selected.
Click the Confirm Refund to create a refund in the full amount.
Canceling an Order
Note
Only unpaid and unshipped orders can be canceled.
If an order has been fully paid or fully shipped, the Cancel Order button will be disabled and you will not be able to cancel the order.
To cancel an order:
Navigate to the Orders admin page by clicking Orders under the Orders category from the Shuup Admin menu.
Select the order that you want to cancel
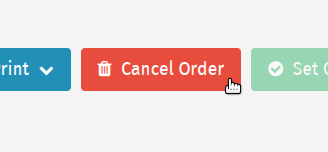
Click Cancel Order in the order toolbar
The order will now be marked as canceled in the Orders admin list.
Completing an Order
Once an order has been shipping, it can be marked as completed.
To set an order as complete:
Navigate to the Orders admin page by clicking Orders under the Orders category from the Shuup Admin menu.
Select the order you want to set complete
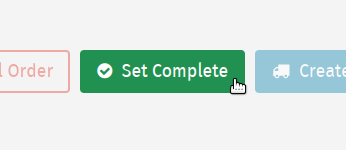
Click Set Complete in the order toolbar
The order will now be marked as completed.
Note
If the order cannot be completed (not all items have been shipped), the Set Complete button will be disabled and you will not be able to complete the order.
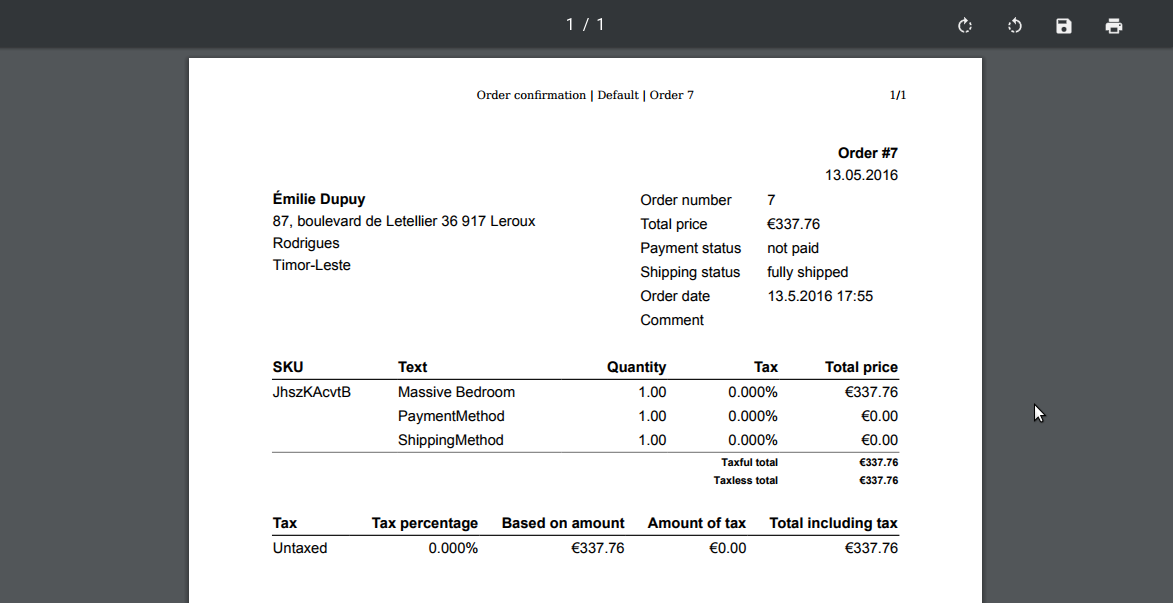
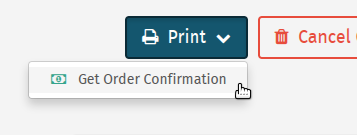
Printing an Order Confirmation
Navigate to the Orders admin page by clicking Orders under the Orders category from the Shuup Admin menu.
Select the order whose confirmation you want to print
Click Print in the order toolbar
Select Get Order Confirmation from the dropdown menu
You will now be taken to a PDF of the order confirmation, which you can either print or save to your computer from your browser menu