Customers and Users
Users
Creating a User
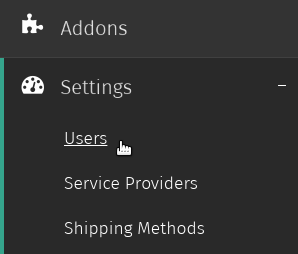
Navigate to the Users admin page by clicking Users under the Settings category from the Shuup Admin menu.
Click the New User button on the Users admin toolbar.

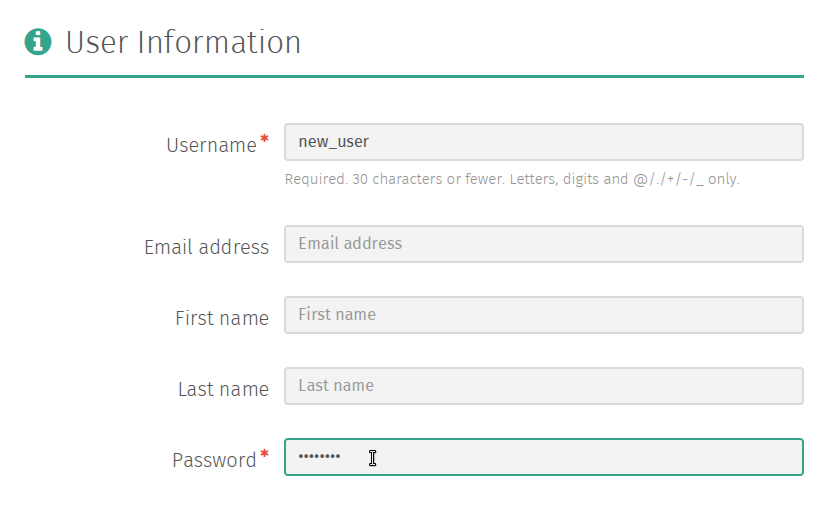
Enter a valid username and password for the user as well as any other user information, then click the Save button in the to create the user account.
Note
A user won’t automatically receive notice that an account has been created for them.
Instead, if you would like to notify a user, send a password-reset email.
Creating a User From a Saved Contact
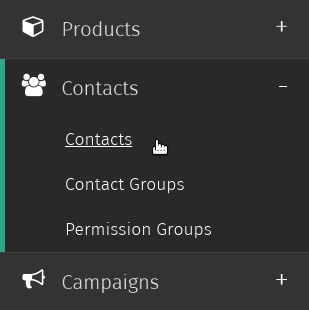
Navigate to the Contacts admin page by clicking Contacts under the Contacts category from the Shuup Admin menu.
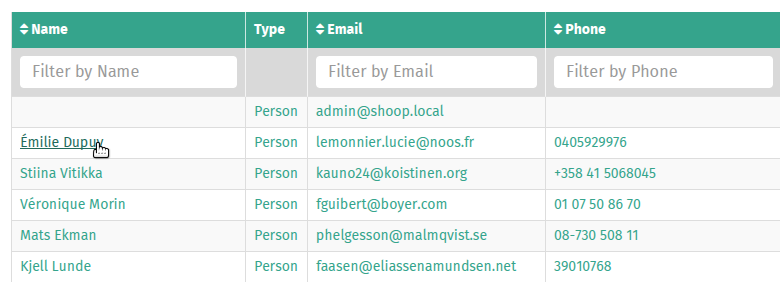
Select the contact for which you want to create a user account.
Click the New User button on the Contact admin toolbar.
Enter the new user’s username and password information and click Save to create the user account, which will now be associated with the selected contact information.
See Creating a User for more information.
Managing User Passwords
Changing User Passwords
Navigate to the Users admin page by clicking Users under the Settings category from the Shuup Admin menu
Select the user whose password you want to change.
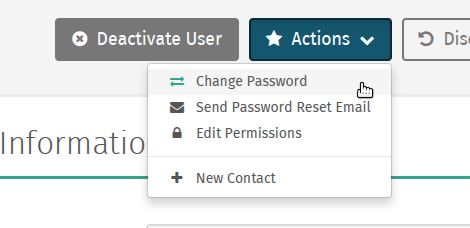
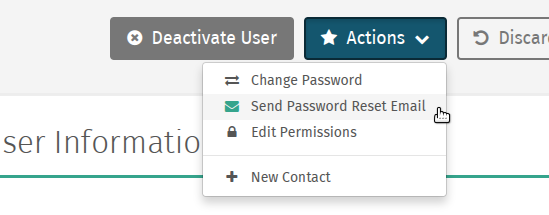
Click the Actions button on the user admin toolbar, and select Change Password from the dropdown menu.
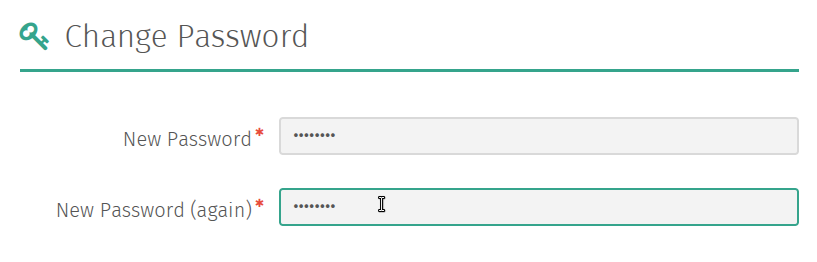
Enter the new password in the Change User Password form and click Save in the toolbar to save the new password.
Sending Password-Reset Emails
Navigate to the Users admin page by clicking Users under the Settings category from the Shuup Admin menu.
Select the user whose password you want to change.
Click the Actions button on the user admin toolbar, and select Send Password Reset Email from the dropdown menu.
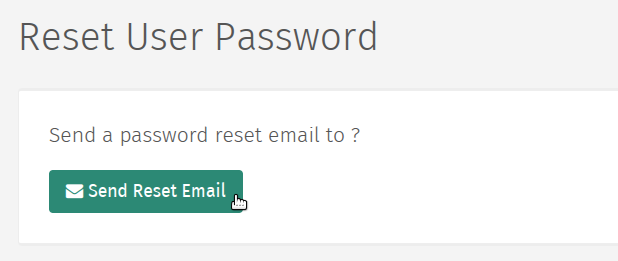
On the next screen, click Send Reset Email to send the user a password reset email.
Editing User Permissions
Warning
Use caution when granting users administrative permissions.
Navigate to the Users admin page by clicking Users under the Settings category from the Shuup Admin menu.
Select the user whose permissions you want to edit.
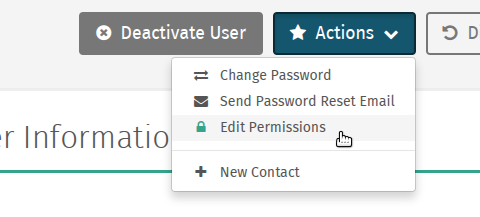
Click the Actions button on the user admin toolbar, and select Edit Permissions from the dropdown menu.
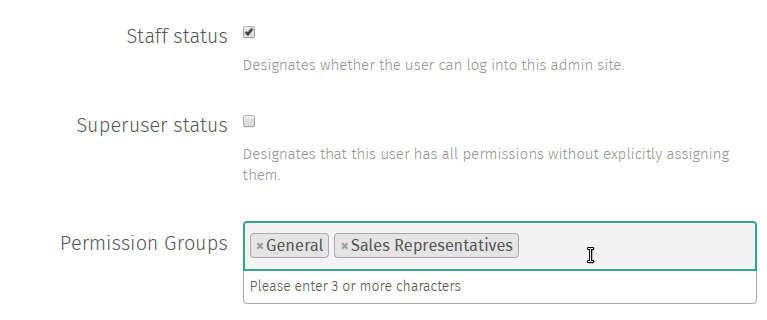
Check the permission levels that want to grant the user and click the Save button to save the user’s permissions.
Deactivating a User
When users are deactivated, they remain in your system however they will no longer be able to log in to their account and by default are not displayed when first opening the Users admin page.
Note
If a user has an associated contact, deactiving the user’s user account will not deactive their contact, although it will prevent them from logging in, essentially accomplishing the same thing.
See Deactivating a Contact for more information.
To deactivate a user:
Navigate to the Users admin page by clicking Users under the Settings category from the Shuup Admin menu.
Select the user you want to deactivate.
Click the Deactivate User button on the user admin toolbar.
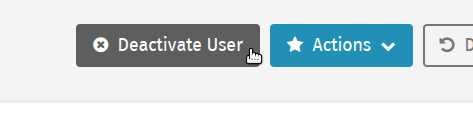
The user will now be deactivated, and the Deactivate User button will be replaced with an Activate User button.
Note
The same steps can be followed to activate a deactivated user.
Logging in as a User
When troubleshooting a problem for a customer, it may be useful to log in under the user’s account.
To log in as a user:
When logged in as a superuser, navigate to the Users admin page by clicking Users under the Settings category from the Shuup Admin menu.
Select the user you want to log in as.
Click the Login as User button on the user admin toolbar.
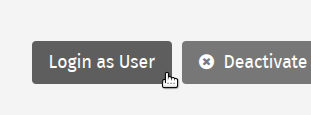
You will now be logged in as the user.
Note
If a superuser places an order as another user, the superuser will be listed as the creator on the orders details page.
Permission Groups
Permission groups can be used to restrict access to different sections of the Shuup admin for staff-level users.
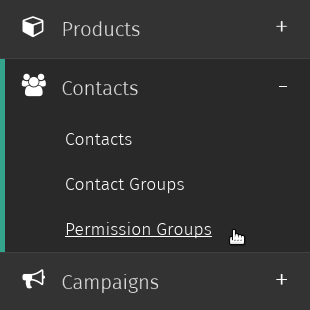
Navigate to the Permission Groups admin page by clicking Permission Groups under the Contacts category from the Shuup Admin menu.
Click the New group button on the Permission Group admin toolbar.
Enter a name for the group, select any modules (or admin sections) the group should have access to, and select any users that should be members of this group.
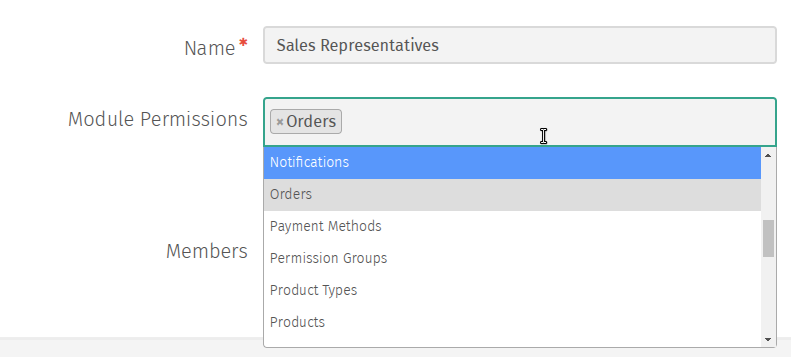
Note
Permissions are managed on a module-level basis. For example, if a user has access to the Orders module, they will have access to create orders, shipments, payments, refunds.
Additionally, if two admin modules require the same permission rights, adding one module will automatically add the second once the group settings have been saved.
Click Save to save the permission group settings.
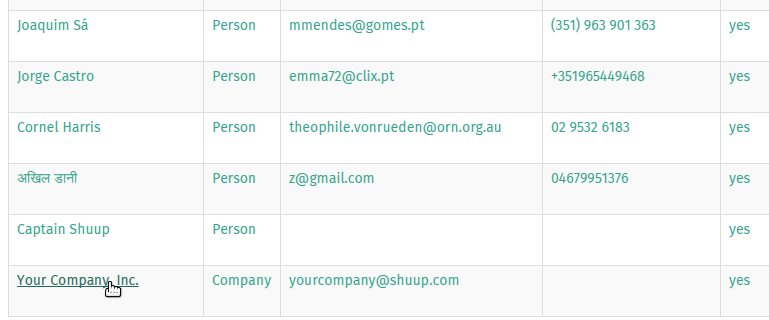
Contacts
Shuup contacts store contact information such as address data, email, or phone numbers, and a contact may or may not be associated with a user account.
Contacts may be one of the two following types:
- Person contact
- Contact associated with a person.
- Company contact
- Contact associated with a company.
One or more person contacts may be members of a company contact.
However, if a user has a contact associated with their account, it must always be a person-type contact, which may then be a member of one or more company contacts.
If a user’s person contact is linked to a company, the company’s contact information will be used when placing orders.
Creating a Contact
Navigate to the Contacts admin page by clicking Contacts under the Contacts category from the Shuup Admin menu.
Click the New contact button on the Contacts admin toolbar.
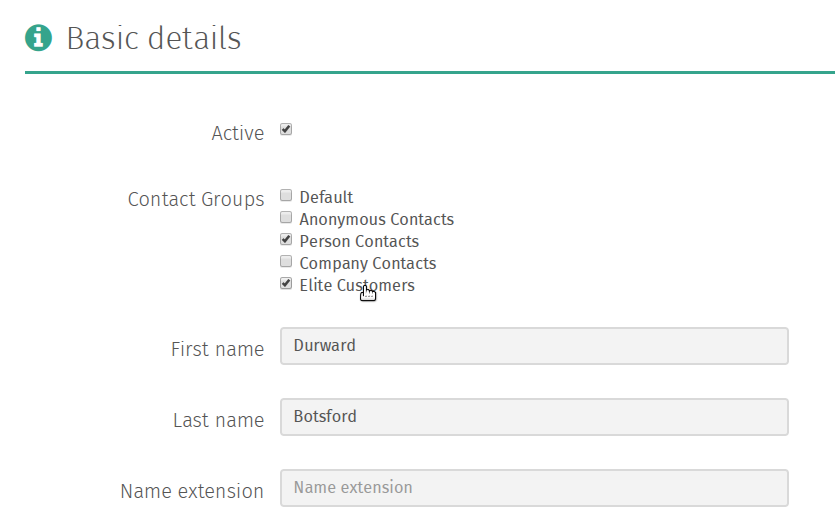
Enter all basic details for the contact, including any required fields.

Note
If adding a contact of type Person, the Name field is required but unused. Instead, you will want to enter a temporary value into the name field and (optionally) provide the contact’s first name last name.
If adding a contact of type Company, the Name field is required and will be used as the company name. In this case, the first and last names will not be used.
Click the Addresses tabs on the left-hand side of the screen to enter billing and shipping address information for the contact.
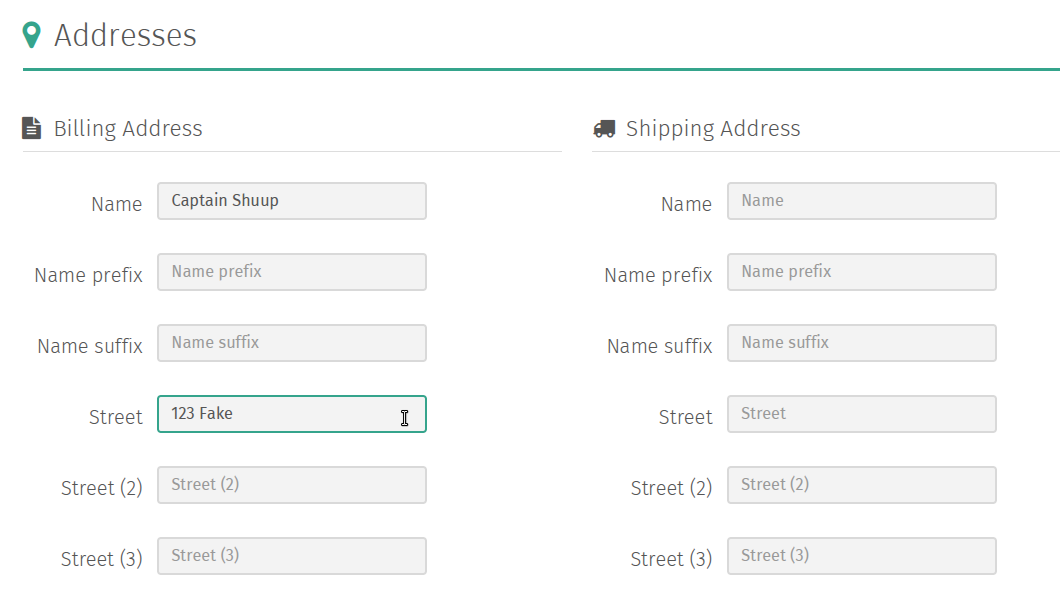
Click the Save button to create the contact.
Editing a Contact
Navigate to the Contacts admin page by clicking Contacts under the Contacts category from the Shuup Admin menu.
Select the contact that you want to edit.
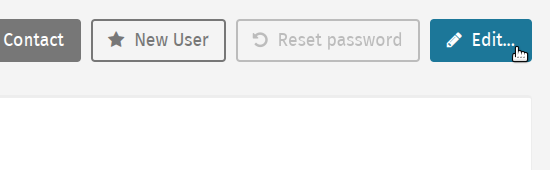
Click the Edit button in the contact admin toolbar.
Edit the user’s information and click Save to save the contact’s information.
See Creating a Contact for more information.
Editing Company Membership
Navigate to the Contacts admin page by clicking Contacts under the Contacts category from the Shuup Admin menu.
Select the company contact whose membership you want to edit.
Click the Edit button in the contact admin toolbar.
Under the Members field input, type the name of the person contact you wish to add to the company. When the name appears in the dropdown, click to add to the input field.
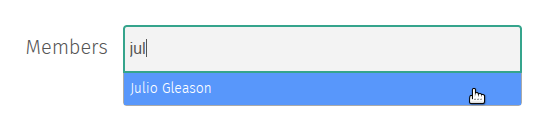
Click save to update the company’s memberships.
Creating a Contact From a User Account
Navigate to the Users admin page by clicking Users under the Settings category from the Shuup Admin menu.
Select the user whose permissions you want to edit.
Click the Actions button on the user admin toolbar, and select Create Contact from the dropdown menu.

Fill in the user’s contact information, including any required fields, then save to create a saved contact for the user.
See Creating a Contact for more information.
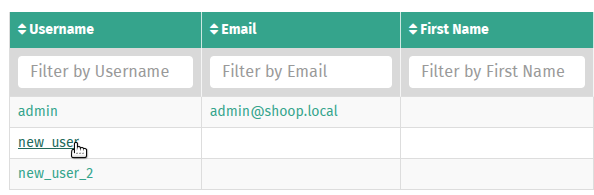
The contact will now be created and you will be taken to the new contact’s admin page.
Click the user’s username to go back to the user’s admin page.
Deactivating a Contact
When contacts are deactivated, they remain in your system however they will no longer be able to log in to their account and by default are not displayed when first opening the Contacts admin page.
Note
If a contact has an associated user, deactiving the user’s contact will not deactive their user account, although it will prevent them from logging in, essentially accomplishing the same thing.
See Deactivating a User for more information.
To deactivate a contact:
Navigate to the Contacts admin page by clicking Contacts under the Contacts category from the Shuup Admin menu.
Select the contact you want to deactivate.
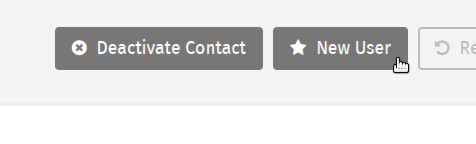
Click the Deactivate Contact button on the contact admin toolbar.
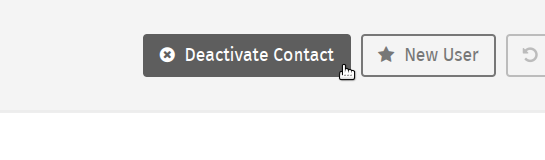
The contact will now be deactivated, and the Deactivate Contact button will be replaced with an Activate Contact button.
Note
The same steps can be followed to activate a deactivated contact.
Contact Groups
In Shuup, contacts can be placed into different contact groups. These groups can then be targetted for campaigns, discount pricing, or custom behaviors.
Creating a Contact Group
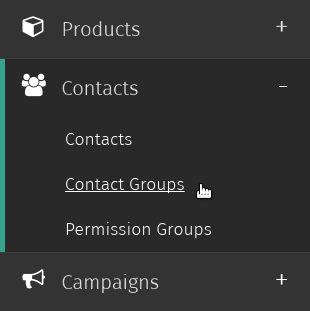
Navigate to the Contact Groups admin page by clicking Contact Groups under the Contacts category from the Shuup Admin menu.
Click the Create new button in the Contact Groups toolbar.

Select a name and price-display mode for your contact group.
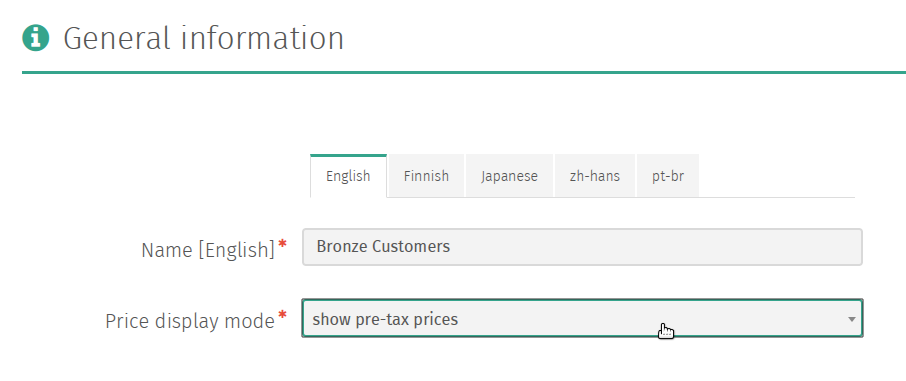
Click the Save button to save your contact group
Once the contact group has been saved, two new tabs will be automatically added to the group’s admin page–a Members tab and one or more Sales Range tabs.
Editing Group Membership
View Contact Group Membership
Adding a Contact
Navigate to the Contact Groups admin page by clicking Contact Groups under the Contacts category from the Shuup Admin menu.
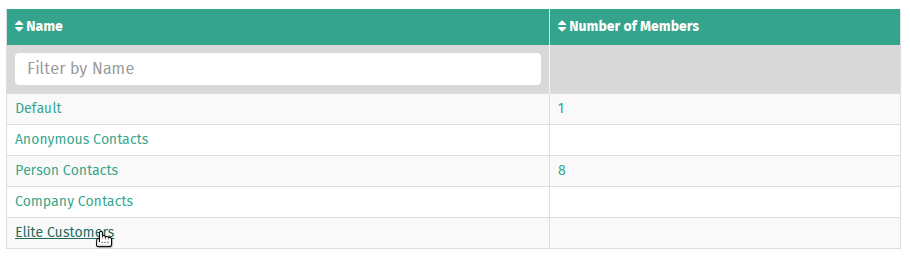
Select the contact group whose membership you want to edit.
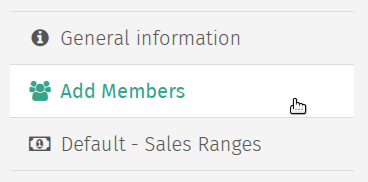
Click the Add Members tab on the left-hand side of the screen.
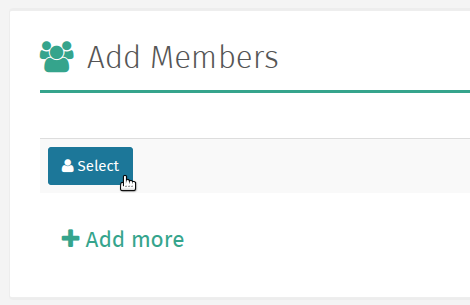
Click the Select button on an empty row to launch the Contact selector popup.
Select the contact you want to add from the Contact popup selector.
If there are no blank contact rows, click the Add more button to add a blank contact row.
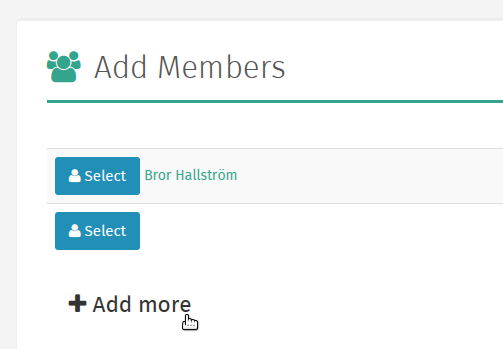
Repeat as necessary to add more contacts, then click Save to save the contact group.
Removing a Contact
Note
Contacts can only be removed from a contact group via the admin page for each contact you wish to remove.
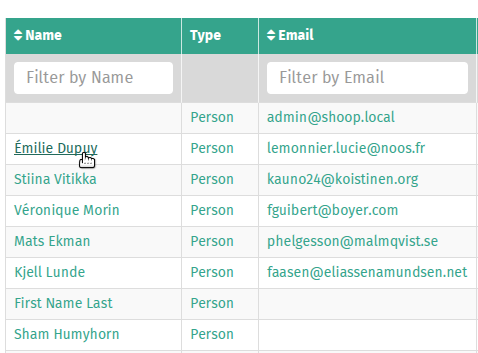
Navigate to the Contacts admin page by clicking Contacts under the Contacts category from the Shuup Admin menu.
Select the contact that you want to remove from your group.
Click the Edit button in the contact admin toolbar.
Find the contact group whose membership you wish to edit in the Contact Groups list, uncheck the corresponding box, and click Save to update the contact’s group membership.
Creating a Sales Range
Contact group sales ranges can be used to automatically assign customer contacts to contact groups based on their sales totals.
This can be useful if you want to target different sales levels for special campaigns, or offer special discounts or promotions.
Navigate to the Contact Groups admin page by clicking Contact Groups under the Contacts category from the Shuup Admin menu.
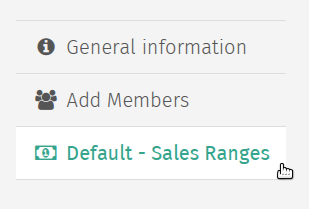
Select the contact group to which you want to add a sales range.
Click the (Shop Name) - Sales Ranges tab on the left-hand side of the screen, where (Shop Name) is the name of the shop to associate with the sales range.
Enter a minimum and maximum value for the group’s sales range.
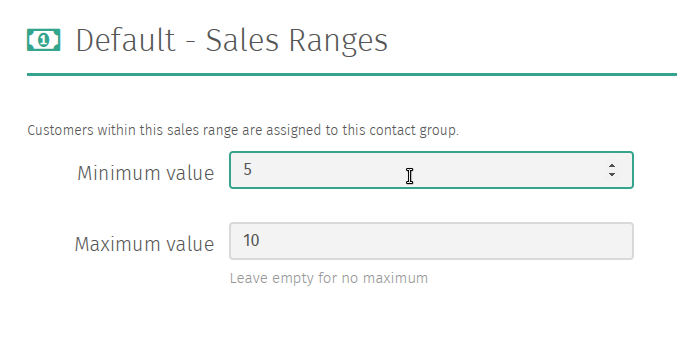
Note
Leave the maximum value blank to set no maximum for the group.
Set the minimum value to 0 to set no minimum for the group.
Click Save to save the contact group sales range. Contact group membership will automatically update based on customers’ sales totals.
Tip
Try creating a contact group for customers within a sales range value and target them for special discounts and promotions.